Make a Hummingbird Feeder
Here’s a fun project for kids that also serves as an exercise in reusing materials that would otherwise be recycled or thrown in the trash.
What you will need
- Clean small soda or water bottle and top
- Clean margarine tub or other small deli container and lid
- Scissors
- Twine
- Construction paper in hummingbird flower colors (red, orange, or pink)
- Colored markers
1. Prepare the containers
- Poke a hole in the center of the deli container lid with the scissors and cut an X shape just large enough for the mouth of the bottle to fit, but small enough to suspend the deli container from the bottle once you screw the bottle top on
- Poke and open up 4 small holes in the lid for the hummingbirds to drink through.
- Poke a holes in the bottle top large enough that water flows out of it when the feeder is turned upside down
2. Construct the feeder
- Unscrew the bottle top
- Poke the mouth of the bottle through the center hole in the deli lid
- Screw the bottle top back on
- Attach the deli lid to the deli container
3. Decorate the bottle with construction paper
In order to attract hummingbirds to their feeders, feeders should be decorated with red or other warm colors like pink or orange.
- Cut a rectangle out of the construction paper that will wrap around the bottle (approx. 6”x9”)
- Decorate the rectangle by cutting out shapes from it and/or drawing on it with markers. One idea to utilize the construction paper is to draw a design on it, such as a hummingbird drinking out of a flower, and cut the design out, leaving most of the construction paper to wrap around the bottle
- Wrap the paper around the bottle and secure it with a piece of tape
4. Decorate the lid
- Decorate the lid with red and other warm colored markers. One idea is to draw flower petals around the small holes.
5. Attach twine to hang your feeder
- Cut about 2 feet of twine
- Tie a knot around the neck of the bottle with the middle of the twine
- Bring the two sides of twine up around the top of the feeder so that it is secured between two of the notches in the bottle.
- Tie a knot at the top of the feeder
- Cut another piece of twine, about 1 foot
- Loop it through the first piece of twine at the top of the feeder
- Tie a knot so that it is a secure loop to use to hang the feeder
6. Fill, hang, and care for your feeder
- Use these instructions to fill, hang, and care for your feeder.
The Rio Salado Audubon Center’s Audubon at Home website is the result of a partnership between the City of Phoenix and Audubon Arizona as part of the U.S. Fish and Wildlife Service’s Urban Conservation Treaty for Migratory Birds.
Full funding for this program is supported by a Grant Agreement from the U.S. Department of the Interior, Fish and Wildlife Service. Mention of trade names or commercial products does not constitute their endorsement by the U.S. Government.
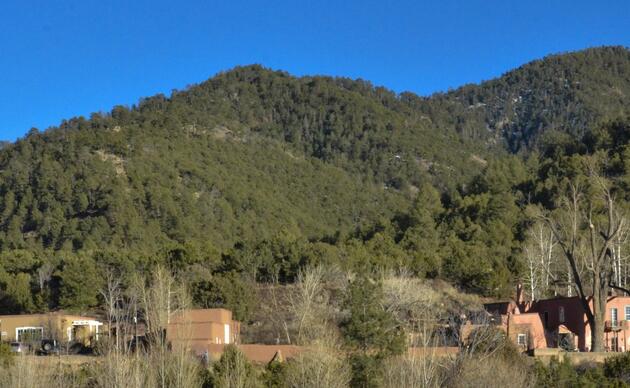
Randall Davey Audubon Center and Sanctuary
Visit the Randall Davey Audubon Center and Sanctuary in Santa Fe, New Mexico.
How you can help, right now
Join the Western Rivers Action Network
Join WRAN to receive action alerts about water issues, as well as issues that are affecting birds across the arid West.
Donate
Help secure the future for birds at risk from climate change, habitat loss, and other threats. Your support will power our science, education, advocacy and on-the-ground conservation efforts.

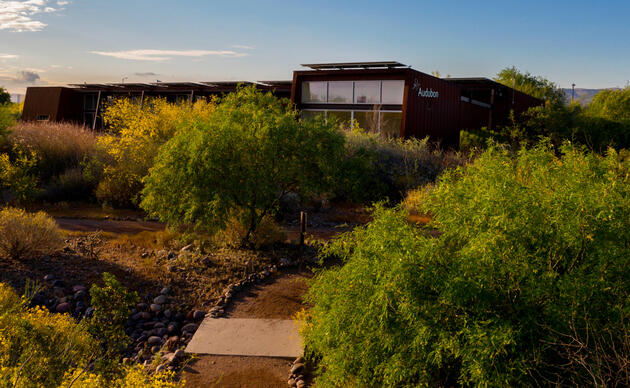
Nina Mason Pulliam Rio Salado Audubon Center
Visit the Nina Mason Pulliam Rio Salado Audubon Center in Phoenix, Arizona.